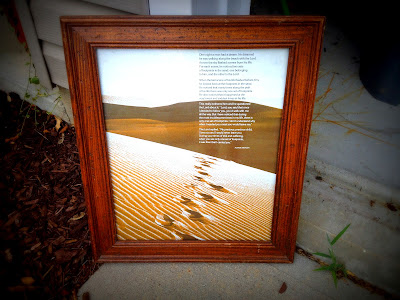
I began at Goodwill and found a frame that was perfect. It was brown and a little beat up, but I was going to distress it a little anyway. It already had character. The frame was big too. I wasn't going for an 8x10, more like a 16x20 or bigger. I found it! And it was only $10.
I got it home and washed it up. Let me tell you, the prints behind the frame were way outdated so who knows how old this thing is! I removed the glass, threw away the prints, and began painting the frame. This took a few coats.
I left the frame to dry and came inside with the glass. On the computer, I went through all the fonts I have and found the two that would be perfect for the print. I typed up the quote and then resized everything (to 130+). I printed it off and cut out the words. The last step was to tape them to the back evenly.
The last step (and the longest) was to trace over the words with black Sharpie marker. (Brand new markers with sharp points are a good idea.) I have found that it works best to trace over it once, then go back over carefully to darken the lettering. I added a few of my own touches to the letters. Boy, I missed being able to lay on the floor on my stomach while doing this! Baby boy would not have liked that very much :)
When all the lettering was traced and dry, I checked it one more time for empty spots. Then I got my dry frame, used some sandpaper to distress the edges and give it that worn look. I used a hammer again to bend the frame hooks backwards away from the glass. Then, I lined the edges with glue and laid the glass in the frame to dry overnight.
I put it on the wall this morning right above our bed, and I love love love it! And it was super easy and cheap! Grand total- $10 for the frame! Woo!!
I know people were asking on Facebook how to do this so I hope this explains it well! :) I hope you are inspired to make one of your own- they are so much fun! And addicting!


No comments:
Post a Comment